Whilst looking through the collection and deciding what we want to show you in our new galleries, occasionally we will find something that fits a theme or illustrates a subject, but needs a little TLC before we bring it out.
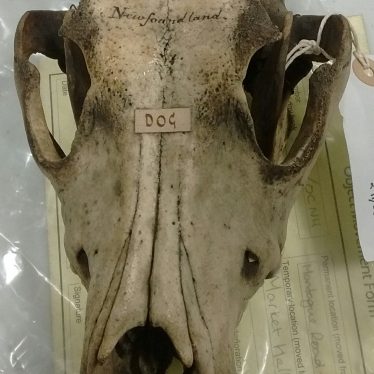
Before
The initial picture is of a Newfoundland dog skull, and it’s looking a bit dull and grey.
What are we aiming for?
One of the main goals is that we stabilise an object and remove any agents of deterioration where possible. Examples of these could be removing old, cracked, rubber bands that were holding something together, removing surface dirt, or making sure there is no pest infestation. When assessing the chemicals and materials that can be used to clean and conserve specimens we have to consider a lot of things, such as what material we want to clean; how fragile is it; are there any specific chemicals, such as solvents, that might damage the specimen; and what is the end result that we want to achieve?
Aside from the surface dirt, the dog skull was being held together with old rusted wire, and the rust was staining the bone. It was easy enough to snip the wire and unwind it, and then I was left with the top part of the skull and the two halves of the lower jaw. All of these were cleaned with a conservation grade detergent that doesn’t leave any residue or contain any perfumes, and this was mixed with part water and part alcohol to make sure all the liquid evaporated as quickly as possible.
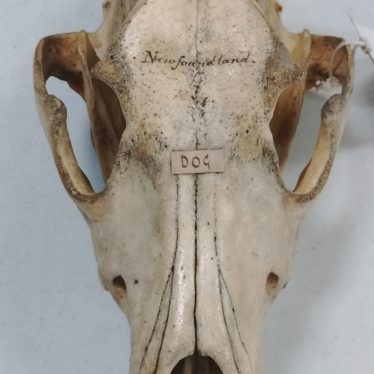
After
After the skull was cleaned I glued the two parts of the lower jaw back together, making sure to use an adhesive that wouldn’t discolour and go brown over time as the previous one had. Hopefully you’ll agree that the end result shows the skull looking a bit cleaner and more suitable for display.


Comments
Add a comment about this page